Right now my network lab requires a quick and easy Windows Server environment for testing of 802.1x authentication (ClearPass Policy Manager) against AD using EAP-PEAP and EAP-TLS. I didn’t want to buy Windows Server licensing so I elected for using the evaluation VHD from Microsoft and have documented a setup for quickly getting the AD environment up and running. This post is to describe some of the initial setup of the virtual environment.
You might be able to get all of this working in a different VM environment without much issue; I’ve been using VMware virtualization for long enough to appreciate how well the product works and not want to mess around with something else. For my setup I used a linked clone as the starting point for my virtual machine servers. Linked clones allow you to create multiple virtual machines all based on the same initial starting point and utilize snapshot technology to reduce the amount of used disk space. Create a base starting point and then utilize linked clones to quickly and easily roll out multiple virtual machines for your lab.
Items Needed
- Computer: fast processor, lots of RAM, and USB3
- VMware Workstation Pro 12
- Microsoft Windows Server 2012 R2 Evaluation
- WinImage
- This is to convert the VHD to a VMDK for use within VMware Workstation
- I’d suggest a large capacity (128GB) USB3 flash disk
- Make sure it is really USB3 and not “USB2/USB3” which seems to be marketing speak for “please buy my USB2 device”
- Format the disk with exFAT rather than FAT32 or NTFS
Be warned, the VHD is large (7.8GB) so you will probably want to avoid downloading it multiple times, or having to copy it around your machine over and over.
Steps
- Make a backup copy of the VHD
- no, we aren’t modifying the original download but save yourself the pain of the download
- unless you have one of those nice gigabit connections, then you can just go to town
- no, we aren’t modifying the original download but save yourself the pain of the download
- Convert the VHD to VMDK using WinImage
- Create a new virtual machine within VMware Workstation
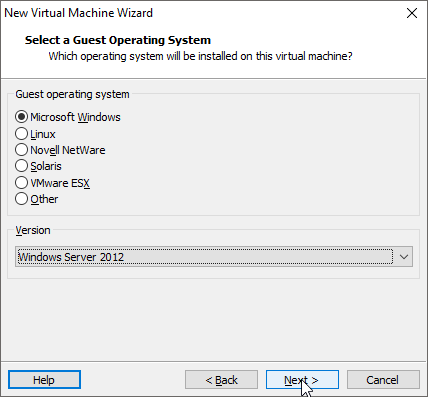
- Specify Windows Server 2012 as your operating system
- Give the machine whatever resources you feel necessary
- Copy the VMDK to the virtual machine location and add the VMDK as a new disk to the virtual machine
- Create a linked clone to use as your first active virtual machine
VHD to VMDK Conversion
There are other methods out there and available, WinImage was something that I found quickly and with reasonable expectation of it working without much issue.
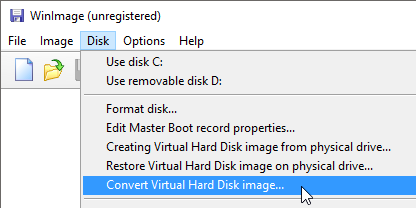
Get WinImage downloaded and extract it somewhere. Run the program. Once you are in the GUI choose to convert a virtual hard disk image.
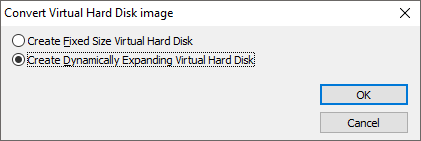
You will be prompted for which type of virtual hard drive to create, my preference is dynamically expanding.
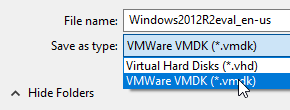
Remember to change the type of the virtual hard disk to VMDK.
Create the Base Virtual Machine
VM Creation Summary
- Custom OS installation
- Guest operation system: Microsoft Windows, Windows Server 2012
- Create a new folder for your VM and name it appropriately
- Firmware Type: BIOS
- Processors/Cores: Your choice
- Memory: Your choice, I’d suggest 4GB if you have the capacity
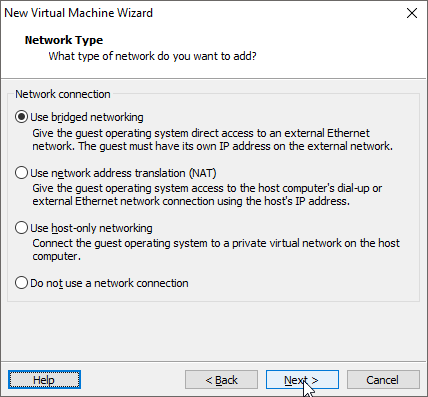
- Network Type: To get this lab machine working with any other network devices you’ll need to select “Use bridged networking”
- Hard disk: create a small SCSI disk that we will almost immediately delete
VM Creation Details
I like to have a folder that all of the lab VMs will go under.
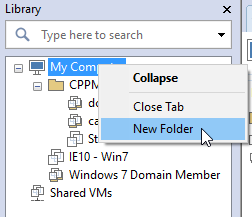
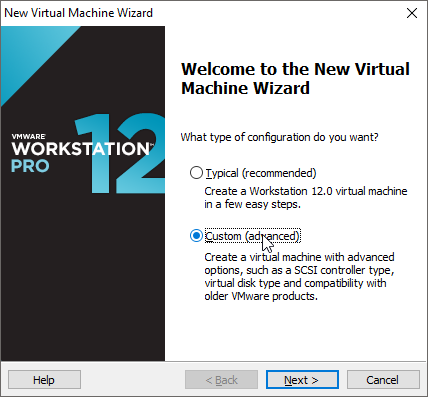
Start the new VM wizard, my preference is to customize the settings along the way although several of the items will be left at the default.
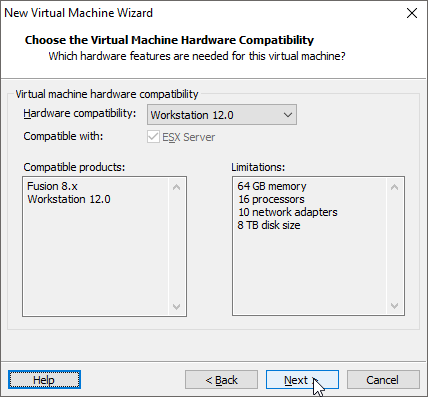
Pick your hardware compatibility. Reducing the hardware version really only matters if you are needing to coexist with a different version of Workstation or are planning on moving the VM to an ESX host. If you do choose an earlier hardware version you can always upgrade at a later date.
Let the wizard know that you will be taking care of the OS install separately from the main process.

Pick the operating system. Please note that Windows 2012 R2 is the same as Windows 2012 for the purposes of configuring the VM.
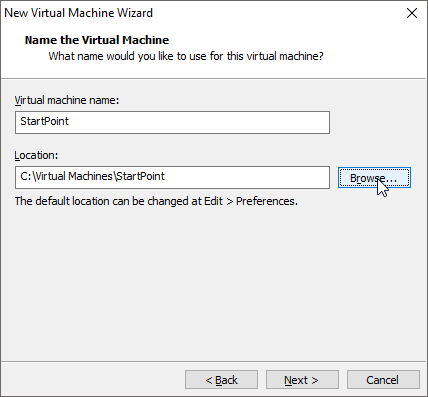
Give the VM a name and location to save. Whatever folder you choose is where all of the VM files will be placed, I’d recommend creating a folder based on the VM name.
Choose the firmware type, since we are using an existing hard disk image use BIOS.

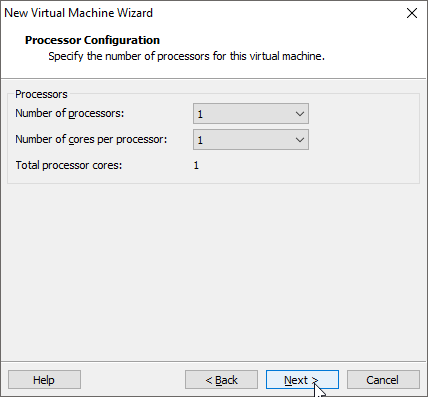
Configure the number of processors and cores. A single core processor will be sufficient is almost all cases.
Give the VM enough memory to be able to operate. With VMware Tools installed the VM shouldn’t eat up all available RAM just because it is available. 2048MB is the default for Windows 2012 but I’d suggest setting a starting point of 4096MB. Your VM host does have 16GB+ of RAM, right?

Bridged networking is needed if the virtual machine is going to be interacting with other networking equipment such as mobility controllers/IAPs/switches. You can get other options to work but they require additional configurations/devices that would normally be more trouble that they are worth.
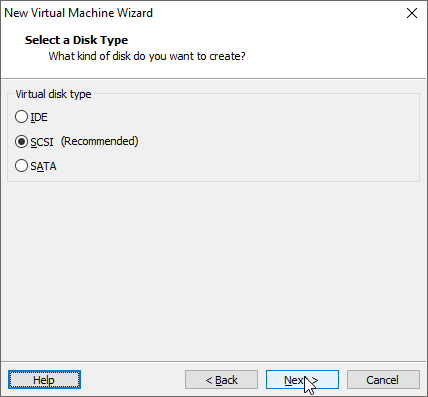
Only one I/O controller available.

For the disk creation we just go with the defaults. No reason to mess with them much since we are just going to delete it in a bit.
Set the disk to type of SCSI.
You will need to create a new disk.

I chose to set the disk to only 1GB here for reasons.
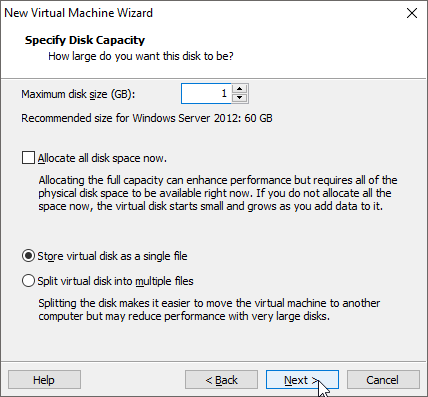
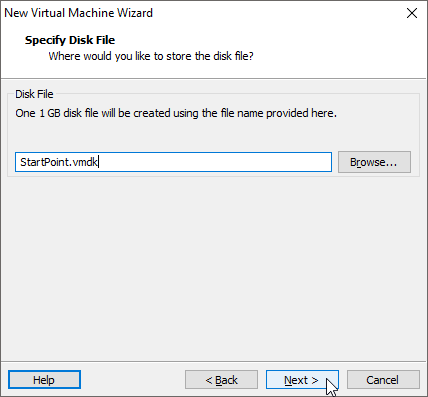
Name of the disk we are going to delete shortly. Remember, this file will get stored with the rest of the virtual machine files.
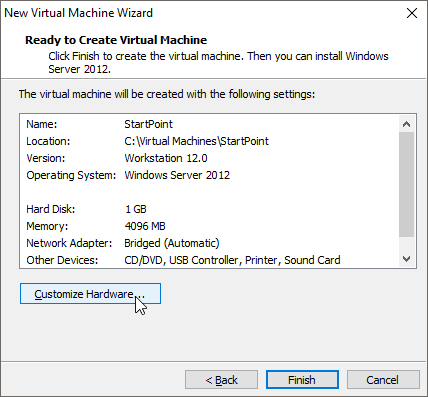
You can choose to further customize the virtual machine here. Not everything we just configured (hard disk) will be visible in the list. Click Finish.
Drag your newly created virtual machine up and into the folder you created earlier.

Set the System Disk for the Base VM
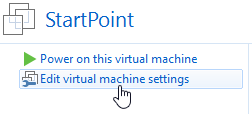
Your first step is to edit the virtual machine settings in order to delete the existing disk entry from the virtual machine.
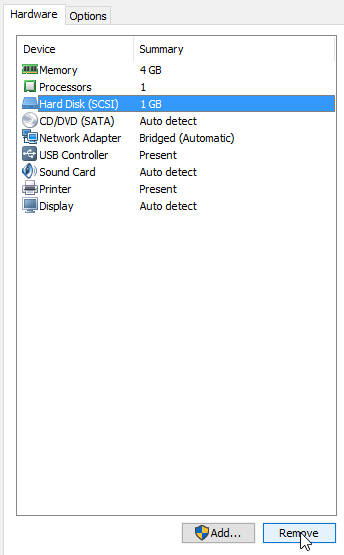
Choose the disk device and remove it. I like to also get rid of other extraneous items like the Printer device.
You will need to also delete the VMDK file that was created with the VM.

Next you’ll need to copy the VMDK you converted earlier into the VM folder. Go ahead and rename the VMDK to something based on the virtual machine name.

Go into the virtual machine settings again and choose to add a device.

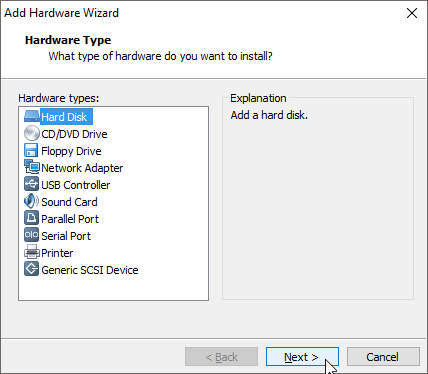
We are adding a hard disk…
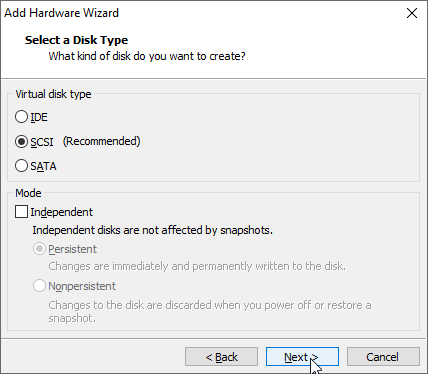
…of type SCSI…
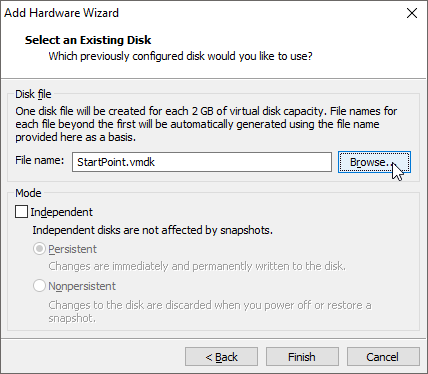
…that we already have existing.

Choose the existing hard disk image from your VM folder.
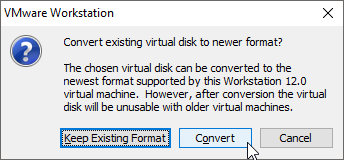
My preference is to convert the disk format as it is a copy and will only ever be used with Workstation.
At this point do not, repeat: DO NOT, turn on the virtual machine. You don’t want Windows Server going through any of the first time startup processes yet.
Use a Linked Clone as the First VM Server
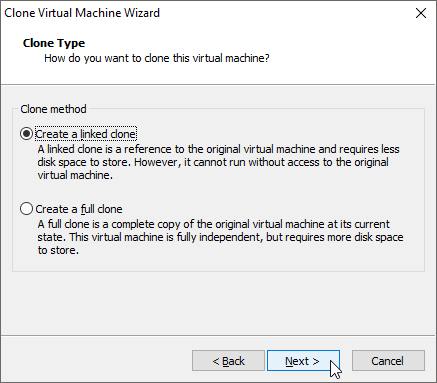
Once you have a starting point virtual machine created to play with you will want to first clone that VM so that you have the ability to create additional virtual machines. A full clone will copy the VMDK (~8GB) along with the virtual machine files to a different folder. Creating a linked clone from the base starting point VM will create a semi-autonomous snapshot to work from. This will save you quite a bit of storage space if you are setting up two or more VMs.
Choose the starting point VM and then choose to clone the virtual machine.

There shouldn’t be any existing snapshots to work from so the current state is what we need.

Choose to create a linked clone.
Specify the location of our cloned VM. You will want to create a new folder for this.
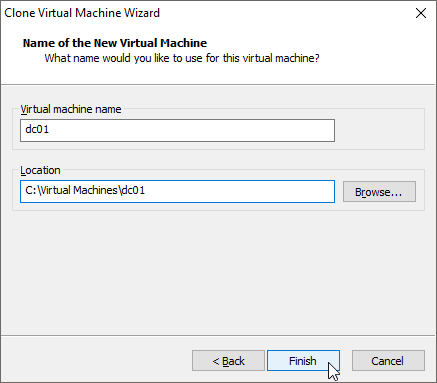
When the VM is created drag it up into our lab folder for easy to find usefulness.

